How do you use Nano Banana 2.1? Refer to the diagrams, text-based posters, and the continuous editing guide.
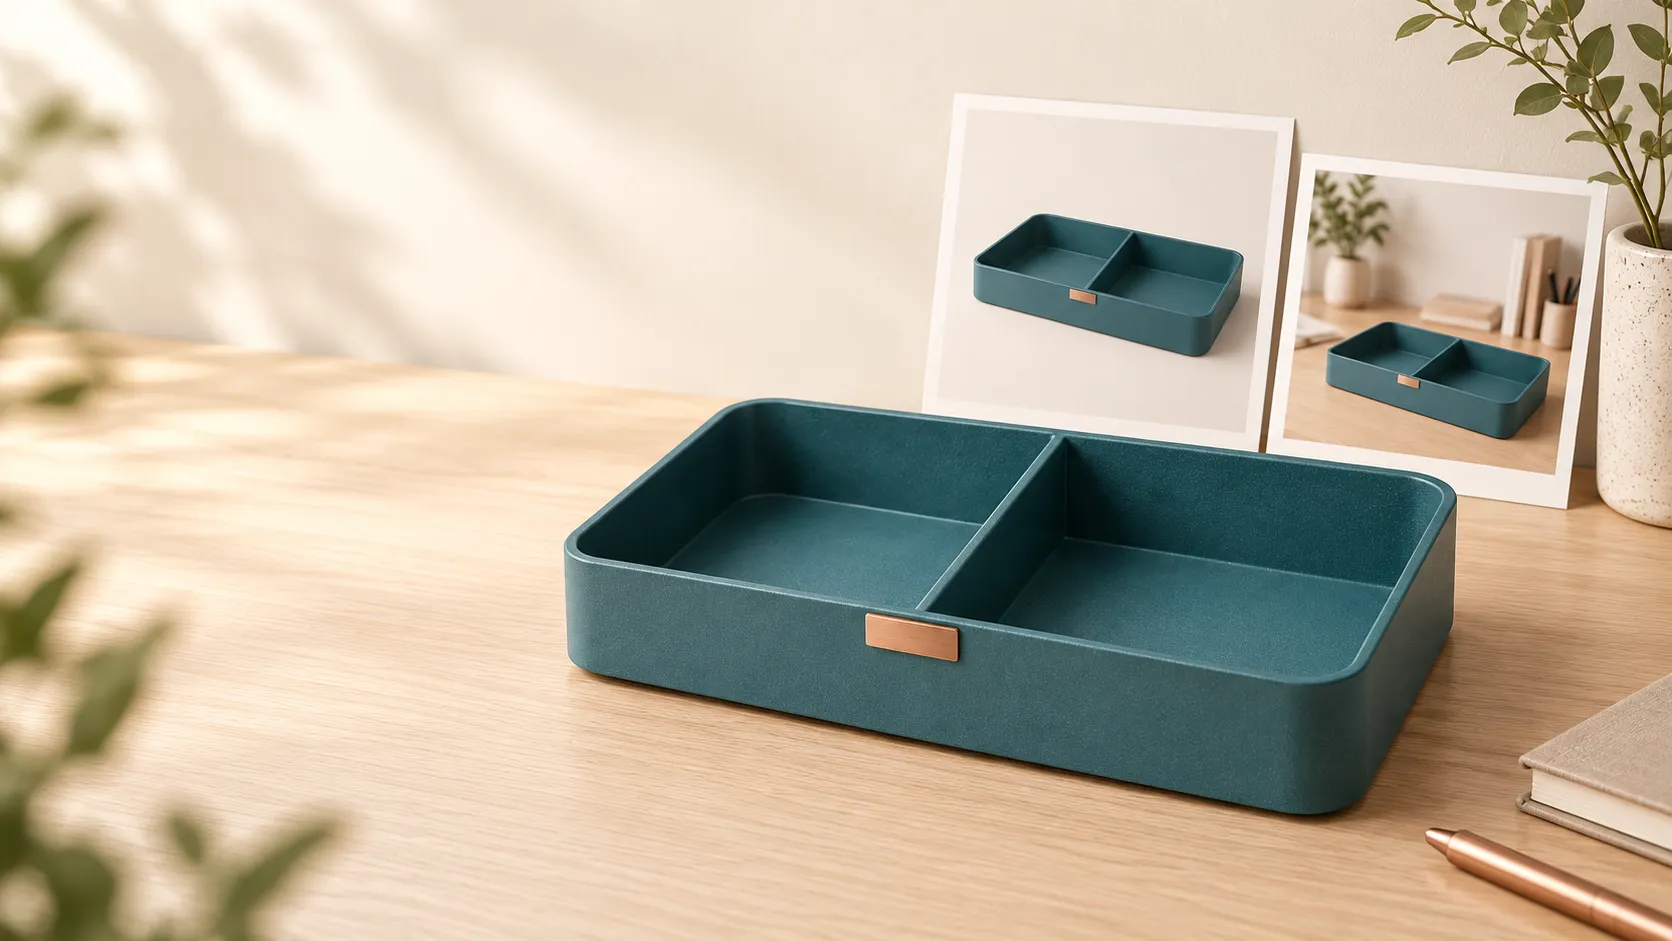
After updating Nano Banana 2.1, what should you pay attention to when creating product images? Rather than just looking at resolution, it’s more important to check whether the product structure still makes sense in the new environment, whether the text in the title is written correctly, and whether previously satisfactory elements have been altered after continuous edits.
This article first summarizes the official information about Nano Banana 2.1, then uses an original desktop organizer case to demonstrate how to assign reference images, organize prompts, add short titles, and verify each editing result step by step. You can also apply this method to PixPix's current workflow for creating reference images and editing pictures.
Information verification date: October 16, 2026. Both the product and accompanying images are original educational examples; the images were generated using an independent image‑creation tool and do not represent actual results from Nano Banana 2.1 or PixPix. The prompts used in this text are general templates that can be customized.
What is Nano Banana 2.1, and what information has already been confirmed?
Nano Banana 2.1 is Google’s image generation and conversational editing model. Google DeepMind released its model card on October 6, 2026, stating that it is based on Gemini 3.6 Flash. View the official model card.
For specifications directly relevant to creation, keep the following points in mind:
Project | Google’s official documentation explains |
|---|---|
API model |
|
Image output resolution | 1K, 2K, 4K—default is 1K |
Multiple reference images | Up to 14 reference images; officially listed as maintaining consistency for up to four characters and fidelity for ten objects |
Key focus of this update | Visual quality, text and infographic layout, multi‑round consistency; correction of stitching artifacts in ultra‑wide and ultra‑high aspect ratios at 2K and 4K |
These are the capabilities and limits stated in the model documentation—not guarantees of results achieved every time, nor does it imply that all platforms offer identical settings. View Google’s model documentation.
For product creators, it’s recommended to shift the focus of updates to three verifiable questions: Have the product details been preserved? Has the title been written correctly? And have modifications affected unrelated areas? This article organizes the workflow around these three issues, without providing speed or effectiveness rankings based on untested claims.
First, establish a product benchmark that can be repeatedly checked.
This tutorial uses a fictional product—the “Rock Blue Double‑Compartment Desktop Organizer.” It serves only to illustrate the method and does not correspond to any real brand, currently available product, or client project.
The product’s identifying features are fixed as follows:
Rock blue matte metal with a fine‑grained coating.
A shallow, rounded‑corner rectangular box with low edges, an open top, and no lid.
There is only one front‑to‑back partition in the middle, dividing the interior into two sections.
On the front, there is only a horizontal copper‑colored decorative panel in the center, with no text.
No handles, legs, or additional drawers.
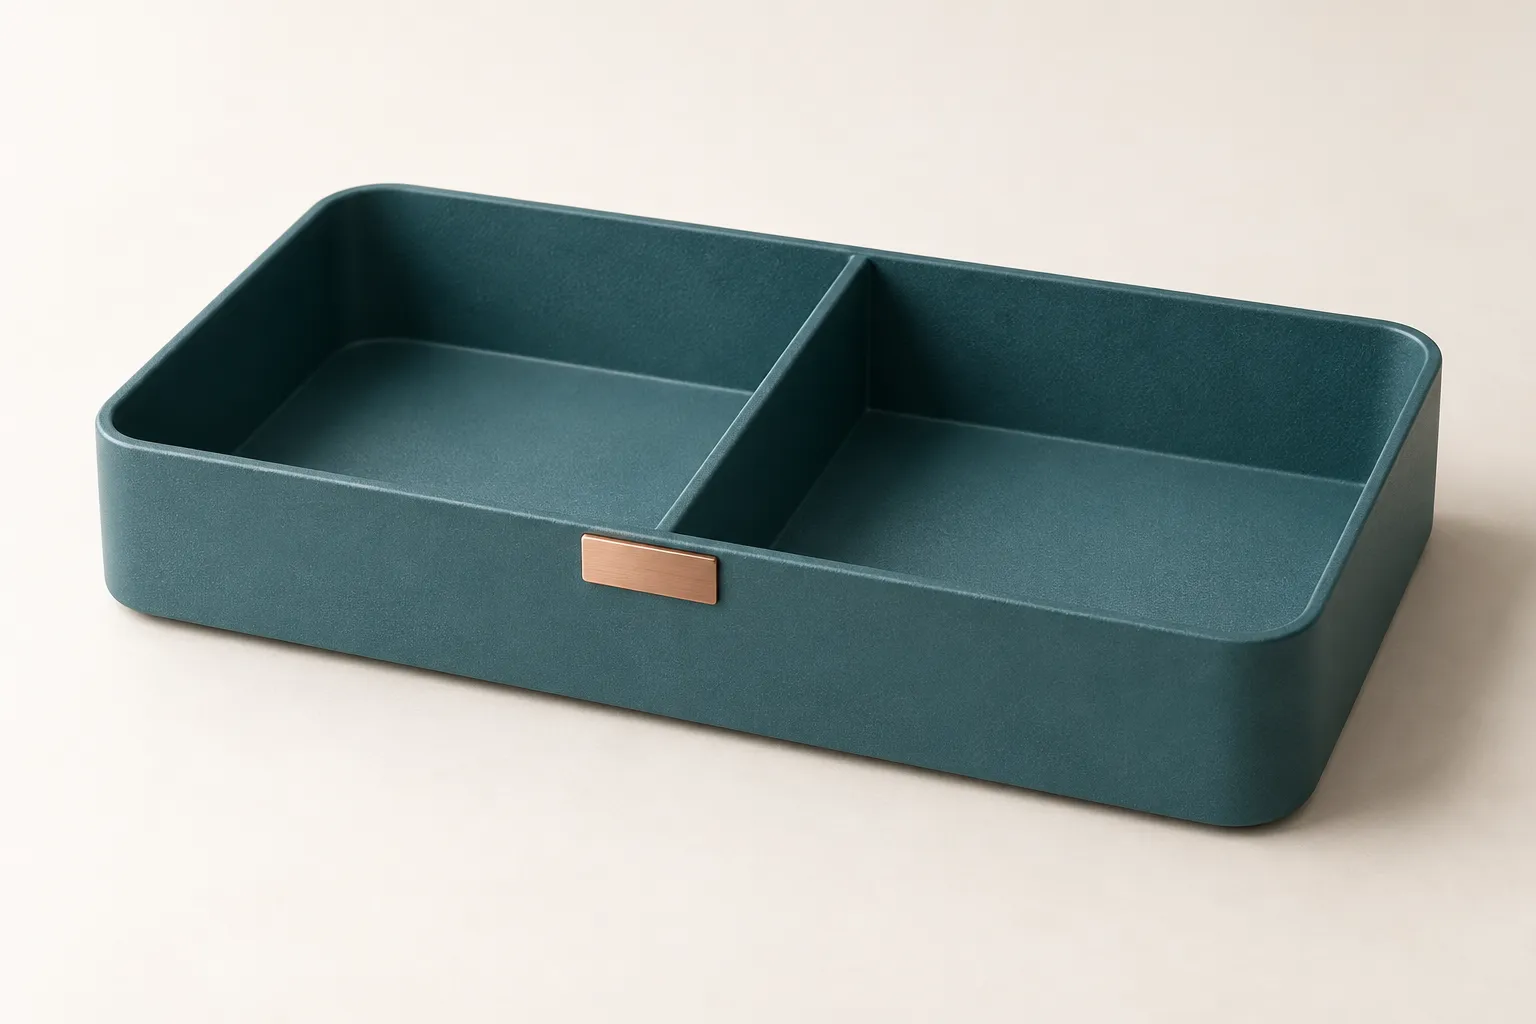
Caption: The master template first clearly defines two compartments, a single partition panel, and copper-colored trim pieces. This is an original instructional illustration; subsequent scenes use it to verify whether the main subject has changed.
This benchmark is easier to implement than “ensuring product consistency.” During inspection, you can specifically point out changes in the number of partitions, placement of trim pieces, edge height, or material—rather than relying solely on overall appearance.
When preparing real‑world product assets, prioritize using unobstructed front views; only add supplementary angles when side views or connection details are unclear. Conflicting colors, structures, or packaging versions should be resolved first.
The key to multiple reference images is clear division of responsibilities.
Reference images can each serve one of three roles: main subject, environment, or composition. Do not let all three images simultaneously determine the product’s appearance.
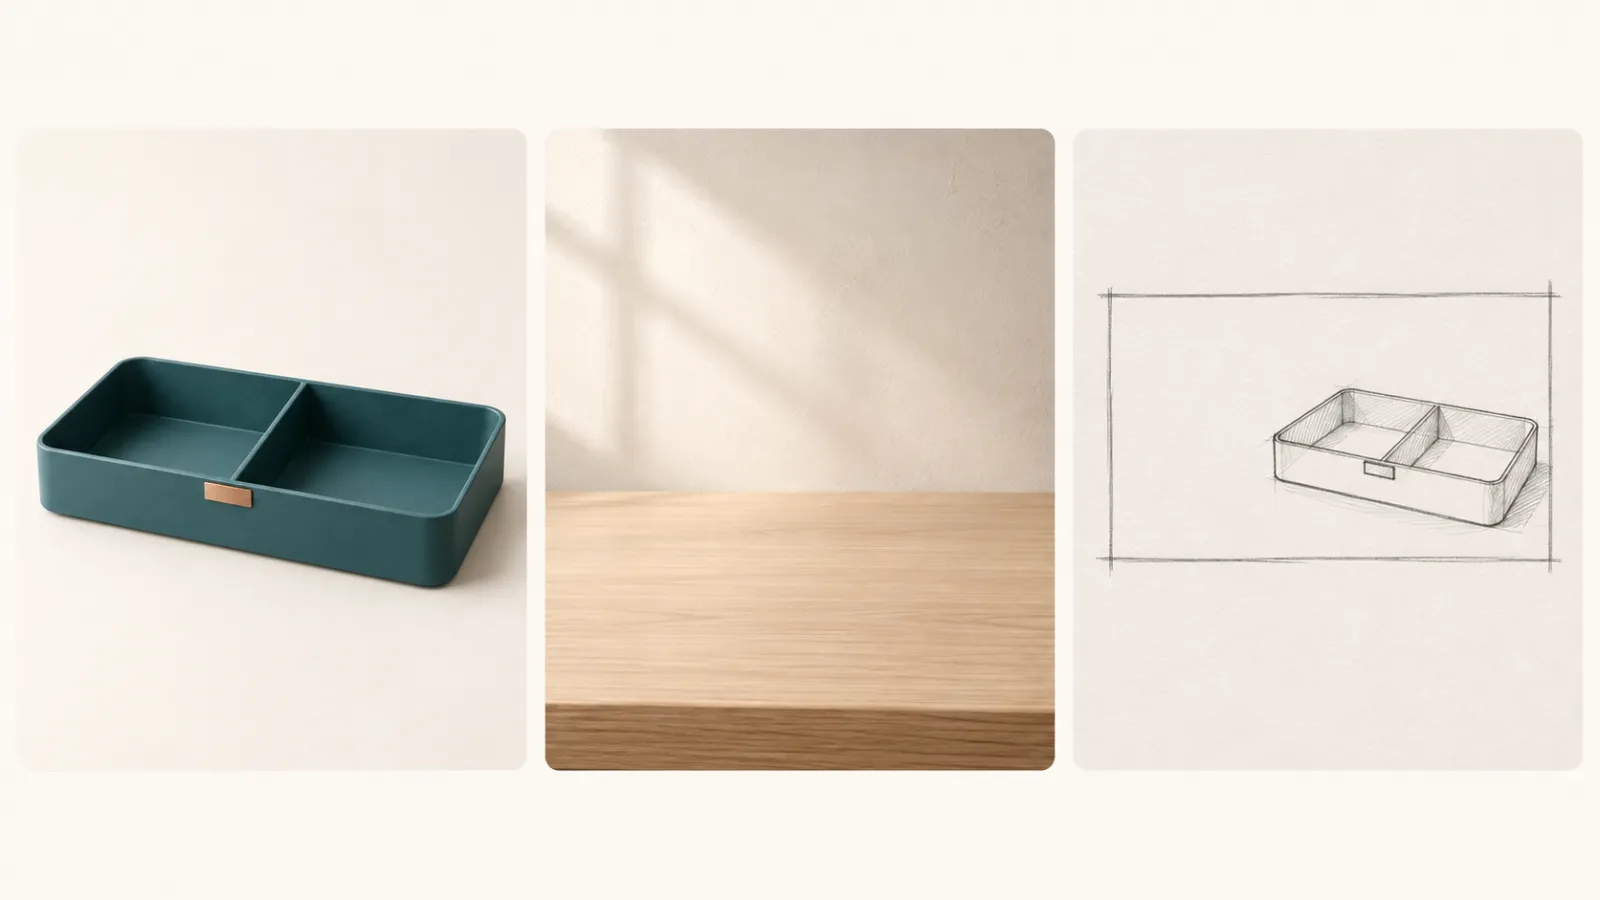
Caption: The left image establishes the product’s identity, the middle image provides the environment and lighting, and the right image illustrates the composition. This diagram is a teaching aid for clarifying roles, not an actual upload interface.
Applying this to our case:
Reference content | Information that must be included | Information that should not be included |
|---|---|---|
Product front view | Two-compartment structure, rounded corners, rock-blue coating, copper-colored trim pieces | Original background and studio shadows |
Empty desktop environment | Light oak wood, warm white walls, light streaming from the upper-left window | Other products or storage boxes of different styles |
Composition sketch | Product positioned on the right, with empty space on the left, and a horizontal composition | Sketch lines and paper texture |
Universal template: Division of roles among reference images
商品参考图只用于确定收纳盒的外形、双格结构、岩青色涂层和正面铜色饰片。
环境参考图只用于确定浅橡木桌面、暖白墙面和左上方自然光。
构图参考图只用于确定商品居右、左侧留白和横向画面布局。
不要把构图草图的线条带入成图,也不要根据环境图重新设计商品。
In practice, label each image with its filename or citation as displayed on the current interface, avoiding vague references like “this one” or “that one.” If the platform supports only a limited number of references, ensure the main subject is clearly referenced first, then supplement with text for scene and composition details.
Proceed in two steps, from scene images to short textual posters.
Step 1: First complete the scene without any text.
Address the product, space, and lighting first, then tackle the title. This way, when issues arise, you can distinguish whether adjustments are needed in the scene or the layout.
Universal template: Desktop scene
以商品参考图中的岩青双格桌面收纳盒为唯一产品基准。
生成横向生活方式商品图:收纳盒置于浅橡木桌面右侧,背景为暖白墙面。
采用前右上方三分之四视角,完整展示收纳盒,不裁断边沿。
左侧分区内平放一本闭合的米白色笔记本,右侧分区留空。
左上方窗光照入,商品底部有自然接触阴影,表面保持细颗粒哑光金属质感。
画面左侧留出干净空间,暂不生成文字。
保留左右两个分区、一道前后隔板和正面中央的铜色饰片。
不要新增提手、支脚、盖子、隔板或品牌标识。
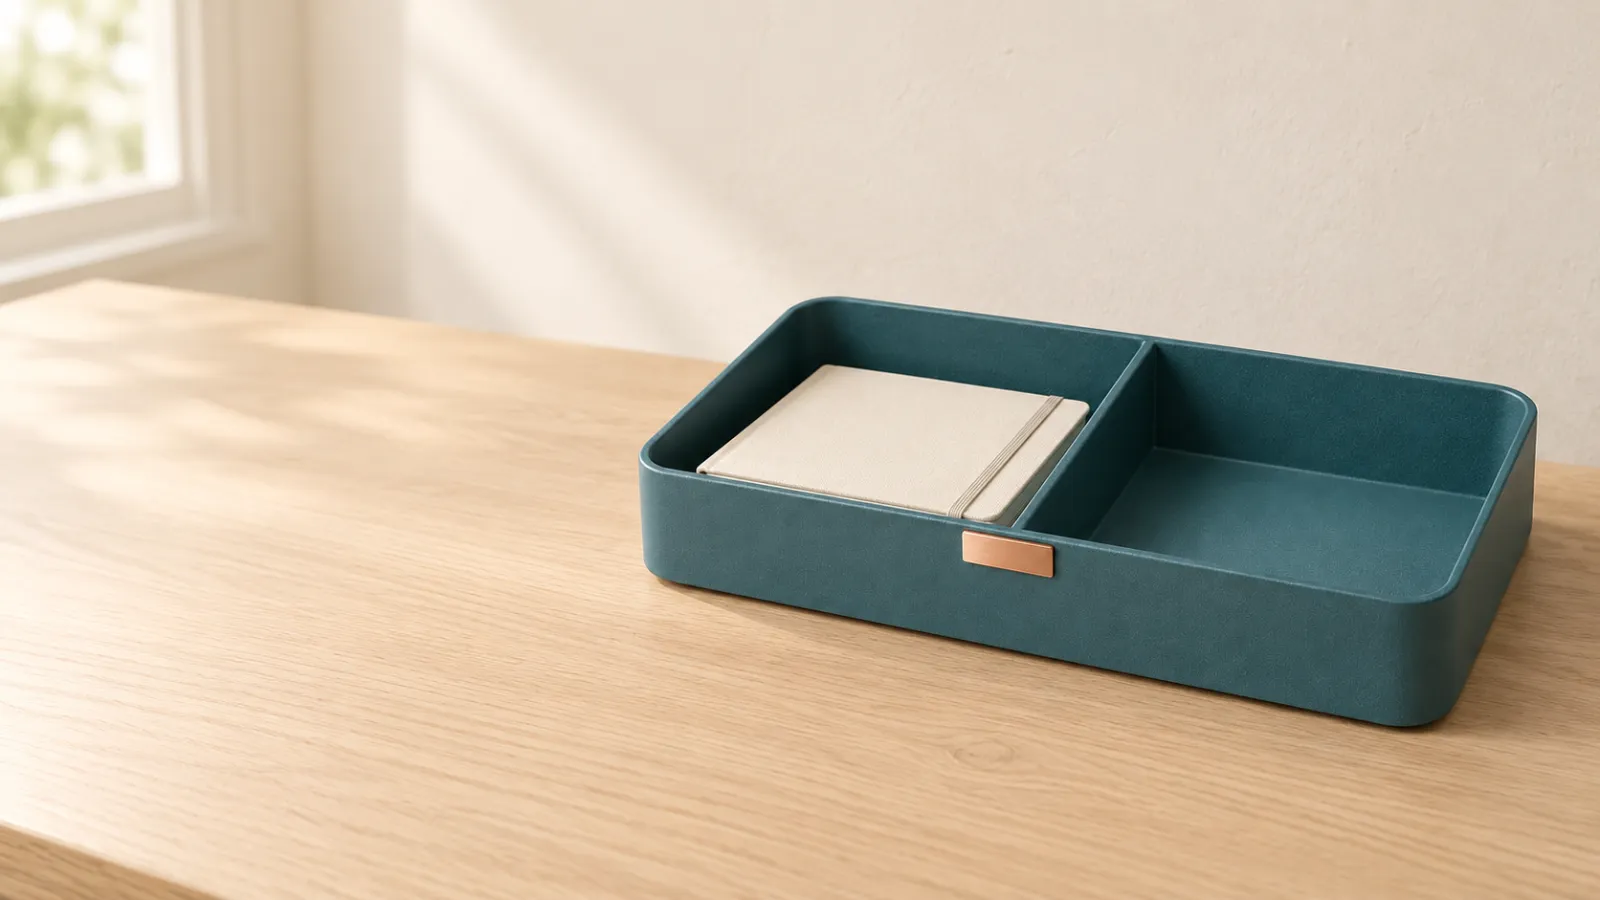
Caption: The scene instruction diagram first establishes the relationship between the product, props, and empty space. The left compartment holds a notebook, while the right remains empty, providing a clear target for future individual edits.
For the first round of review, focus on checking whether the notebook has passed through the partition, whether the copper-colored trim pieces have shifted, and whether the bottom of the storage box is flush against the desk. If structural errors occur, return to the master template for correction first—do not attempt to mask problems with additional decoration.
Step 2: Add only one short title
In this case, we use the short title “DESK RESET.” First, check spelling, placement, and hierarchy with minimal text, then consider additional information.
General template: Short title layout
基于已确认的桌面场景图,仅在左侧留白区域加入以下标题:
DESK
RESET
两行排列,深岩青色无衬线字体,左对齐,保留充分边距。
文字必须逐字准确,不添加副标题、价格、Logo 或其他文字。
不要遮挡收纳盒,也不要改变商品结构、笔记本位置、桌面和光向。
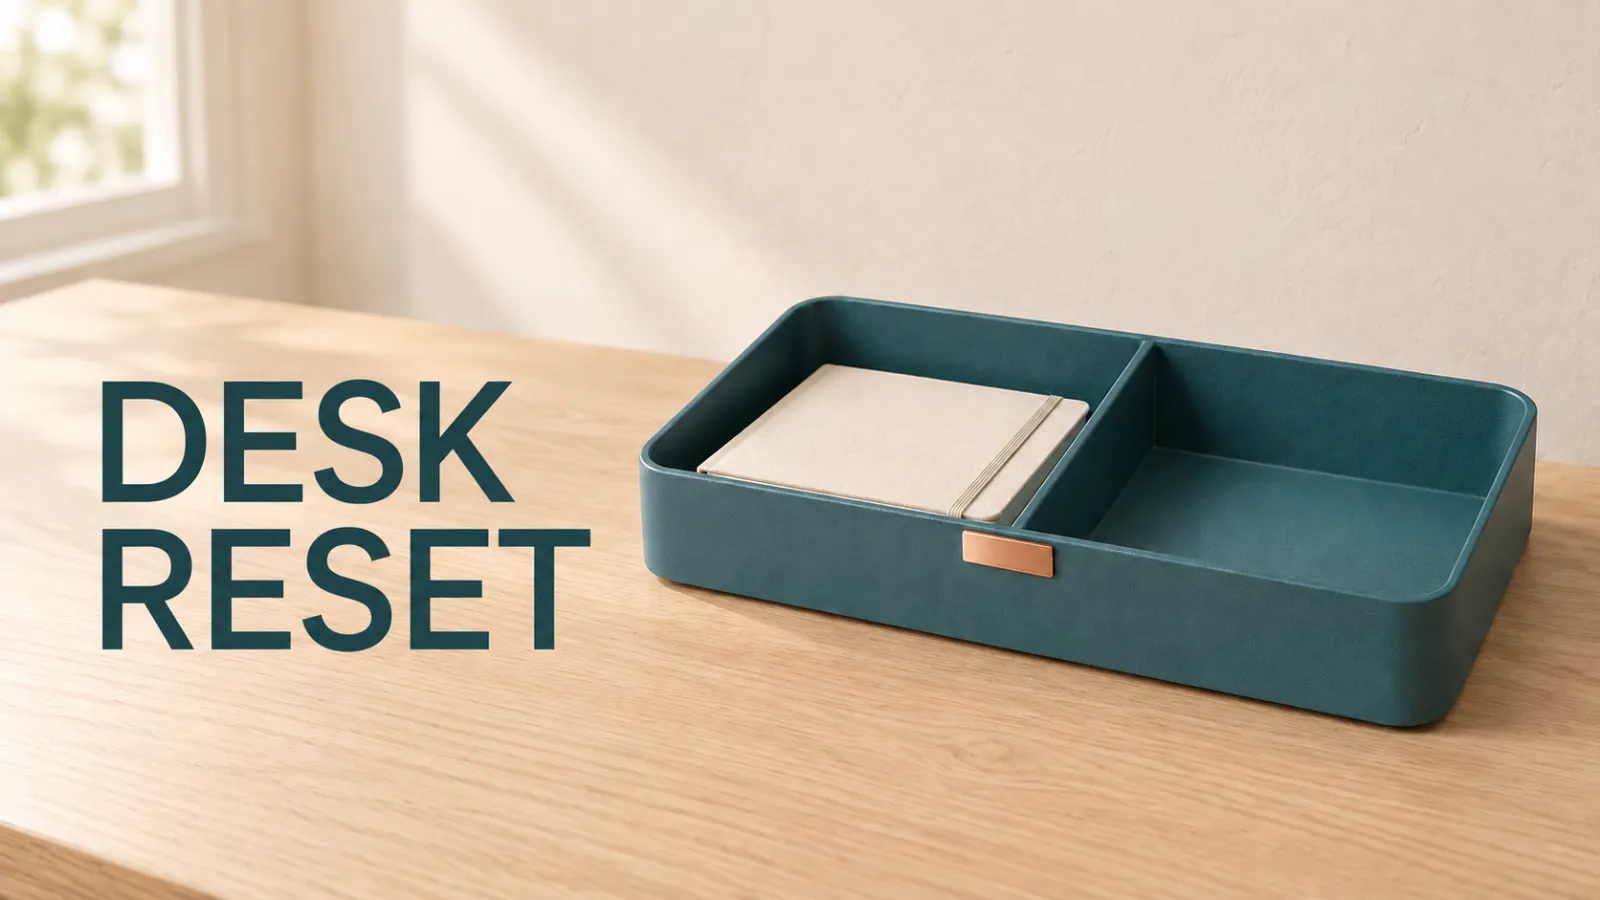
Caption: The instructional image for short titles briefly explains positioning and hierarchical requirements; it does not reflect the text accuracy of Nano Banana 2.1.
When reviewing text, in addition to verifying word by word, also assess readability in thumbnails, the distance between the title and the product, and safe margins at the edges of the frame. If final branding information must be accurate, you can keep a blank background image and add text later using your layout tool.
During continuous editing, specify one major change per round.
Assuming the current scene is satisfactory, if you only want to remove the notebook now, avoid rewriting the room, products, or overall style. Instead, clearly identify the object to edit, fill in missing areas, and determine what should remain.
General template: Single‑area editing
只移除收纳盒左侧分区内的米白色笔记本。
补全被遮挡的岩青色哑光金属底面,使两个分区都为空。
保留收纳盒的外轮廓、隔板、铜色饰片、位置和大小。
保留原机位、浅橡木桌面、背景墙、窗光与商品接触阴影。
不要重新设计收纳盒,不要向任一分区添加物品。
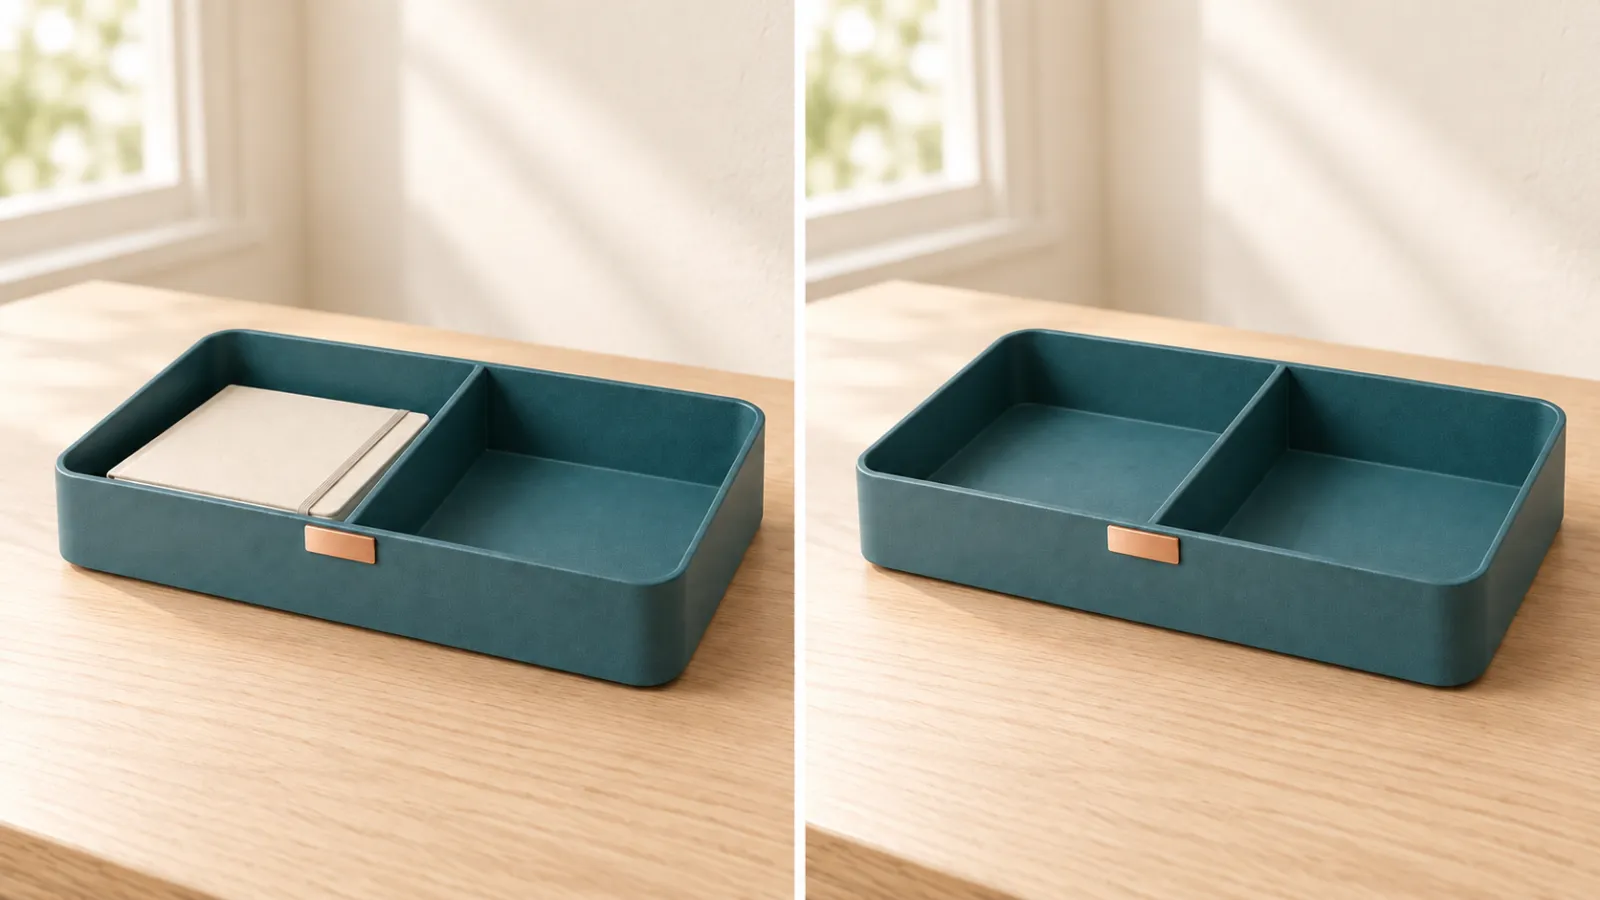
Caption: The notebook remains on the left, while the target area to be removed is shown on the right. This image is a specially constructed instructional comparison—not before-and-after screenshots from an actual PixPix editing session—and does not guarantee pixel‑perfect consistency across other areas.
Retain the previous usable version after each round. If removing the notebook causes the shelf to bend, alters product proportions, or noticeably rearranges the desktop texture, revert to the prior version and narrow down the scope of changes. Simply checking that “the notebook has disappeared” isn’t enough—also verify that everything else remains intact.
Putting this method into practice with PixPix
PixPix’s AI Image and Video Generator publicly introduces features such as text generation, reference image creation, and photo editing, along with options like local retouching, image enlargement, and localized removal. Below are operational recommendations compiled based on these tools; specific controls and supported ranges may vary depending on the current interface.
Enter the image creation section and confirm which models are actually available. Record the model names carefully, avoiding confusion between Nano Banana 2 and 2.1.
Upload a reference image of the product. If more references are needed and the interface supports it, supplement with environmental or compositional elements, clearly specifying their respective roles.
Use a text‑free scene template, setting the aspect ratio and dimensions provided by the current tool. First confirm the product’s structure, then proceed with further processing.
Add a short title based on the available version, or retain the base image and finalize the copy using a dedicated layout tool.
When removing props, prioritize exploring the local removal or local retouching options, clearly defining the areas to preserve. Focus on solving one major issue per round.
After downloading, verify the actual pixel dimensions, text quality, and product details, and save the prompt and version records.
If the task involves creating a complete set of e‑commerce product assets, also check whether PixPix’s product‑set feature suits your current goal. Do not confuse standard image‑generation parameters with those used for product sets, nor mix up output quantities or pricing structures.
Before delivery, pay special attention to these five aspects
Google’s model documentation still lists limitations such as rendering small text and long paragraphs, maintaining human likeness, executing local editing commands, and judging left–right spatial relationships. Therefore, official update notes should serve as testing guidelines rather than replacing final image acceptance.Review known official limitations.
For this particular case, inspections can be detailed down to:
Structure: There are always only two sections and one partition, with copper‑colored trim positioned consistently.
Material: The rock-blue metal retains a matte finish, avoiding the transition to glossy plastic or ceramic.
Space: The notebook is fully contained within the left compartment, with correct contact relationships and no floating elements.
Text: “DESK RESET” contains no missing characters, typos, or extra text, and remains legible even when scaled down.
Editing Scope: After removing the notebook, the partitions, edges, mounting positions, and lighting directions can still be compared item by item against the previous version.
If you wish to compare different models, you should keep reference images, prompts, aspect ratios, dimensions, and output quantities consistent, while recording the actual number of iterations, modifications, and resource consumption. This tutorial does not conduct such cross-comparisons, so no conclusions should be drawn regarding which model is faster or better.
Frequently Asked Questions
With a maximum support of 14 reference images, should I upload them all at once?
Not necessarily. First assess whether each image provides irreplaceable information. Main subject images and environmental context images have clear divisions of labor, often making troubleshooting easier than using multiple conflicting references; the actual number of images you can upload also depends on the specific platform used.
Does choosing 4K guarantee accurate product details and text?
No. Pixel resolution and content accuracy must be evaluated separately. Adding an extra partition or misspelling a title will still result in errors when zoomed in; first confirm the structure and text, then determine the final output size.
After updating the text-generation capabilities, is manual typesetting still necessary?
This option should remain available. Short titles can be used for exploratory purposes, but officially published text should still undergo word-by-word proofreading. For lengthy copy, small fonts, or tasks requiring strict brand guidelines, consider completing the base layout separately from the final typesetting.
Start with a clear reference image
Prepare a complete product image as the main subject, outline several unchangeable structural features, and then, at the PixPix Image Creation Portal, try creating a simple scene. First produce a version without any text, then add a title, and finally make one last modification with clearly defined scope.
Only when you can clearly explain “what was changed this round, which details need to be preserved, and how to verify the results” will each generation and edit become easier to reuse.

AI Image Tool Built for E-commerce Teams
For new product launches, advertising, and promotional campaigns, use AI to generate product images, scene visuals, ad creatives, and short video assets — making content production faster.