How to Write Prompts for Nano Banana 2.1: 6 Original Templates and PixPix Editing Techniques
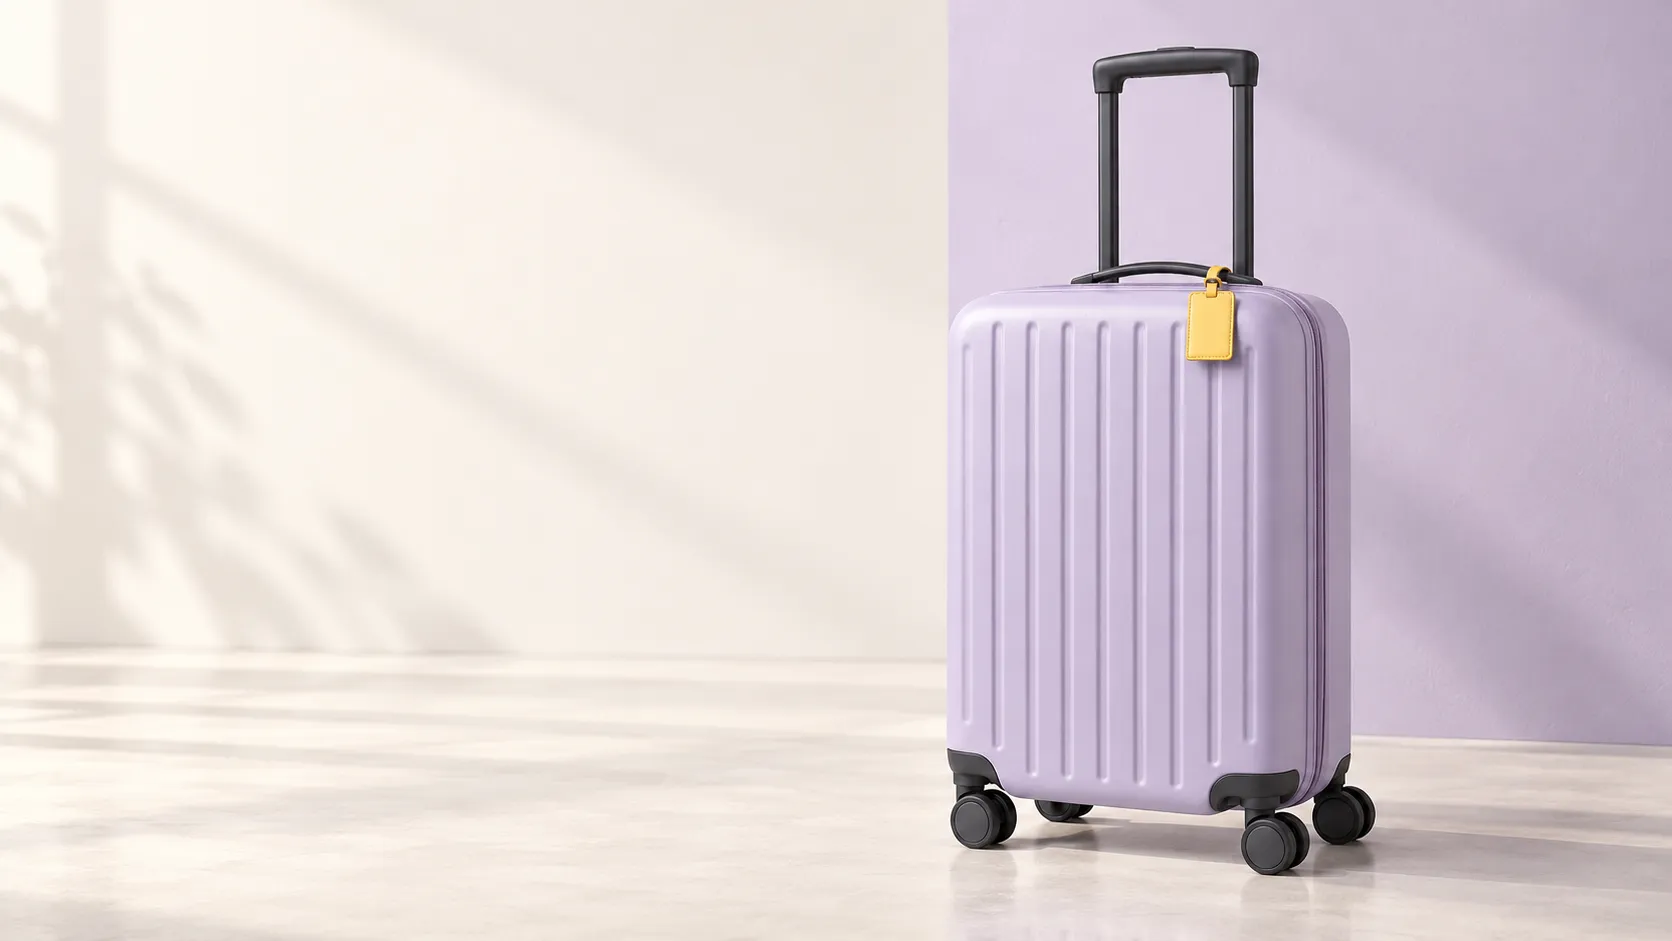
When writing prompts for Nano Banana 2.1, the most common oversight is often the scope of modifications: you might want to change a travel scene, yet the suitcase handle ends up changing as well; or you only intend to adjust the color of the luggage tag, but the lighting across the entire image gets reconfigured.
This article uses an original misty purple carry-on suitcase to provide six editable prompt templates, covering product reference images, travel scenes, multi-image composition, text-based posters, single-item color adjustments, and shadow corrections. You can follow PixPix’s reference images and editing workflow to clearly define each round’s objectives, then verify the results with specific details.
First confirm the model number, then begin writing your prompt.
Google has officially listed Nano Banana 2.1, positioning it as an image-generation and dialogue-editing model—an update to Nano Banana 2. Nano Banana 2.1 and Nano Banana 2 are distinct model names.
The following templates explain how to articulate tasks. When using them, first verify that the current model supports the required reference images or editing capabilities, then select the appropriate entry point. Do not directly apply reference image counts, resolutions, or button placements from other platforms to PixPix.
Break down your requirements into visuals, context, and modification scope.
It’s recommended to start by listing three key points:
Visual Objective: What final position will the image occupy? Where is the main subject located, and what is the scene like?
Input Context: Which image determines the product’s appearance, and which provides only the environment or composition?
Modification Scope: What aspects are allowed to change in this round, and which details must remain intact?
Taking a product scene image as an example, even for “high-end travel suitcase advertisement,” creators still need to decide on many details. For instance, you could rewrite it as: “The same misty purple carry-on suitcase stands upright inside a bright train station, fully revealing its telescoping handle and wheels, with space reserved on the left for copy, while soft daylight streams in from the upper-left corner.”
Then add one more sentence: “The product’s exterior follows the reference image, preserving the box’s grooves, handle structure, and yellow luggage tag, while only altering the surroundings and adjusting the lighting to match the environment.” This approach both clarifies the desired outcome and sets clear boundaries.
General Template:
Create a 【visual form】for 【purpose】. Based on 【reference images and corresponding responsibilities】, the main subject should be 【recognizable features】, positioned within a specific 【scene and location】, employing a particular 【perspective, framing, and negative space】. Light should come from a defined 【direction】, and materials should exhibit visible textures. In this round, only 【permitted changes】are allowed, while keeping 【fixed elements】intact and avoiding 【errors related to this task】.
You don’t have to fill in every detail each time. If you already have a satisfactory image, your editing instructions can simply focus on “changes, retention, and verification.”
Establish a case study: identifying features of the misty purple carry-on suitcase.
The carry-on suitcase featured in this article is an original fictional product used solely for illustrating visual creation purposes; it does not correspond to any real-world product’s dimensions, capacity, or suitability for air travel.
First, lock in several features that can be easily verified in images:
A misty purple hard-shell suitcase with rounded corners, featuring parallel vertical grooves on the front.
A deep graphite-colored dual‑bar telescoping handle, with an additional short handle at the top.
Deep graphite-colored swivel casters, naturally showing their visible parts according to perspective.
The top handle rests against the right side of the image, holding a plain yellow rectangular luggage tag.
The zipper runs along the side edge of the suitcase, without adding stickers, logos, or other attachments.
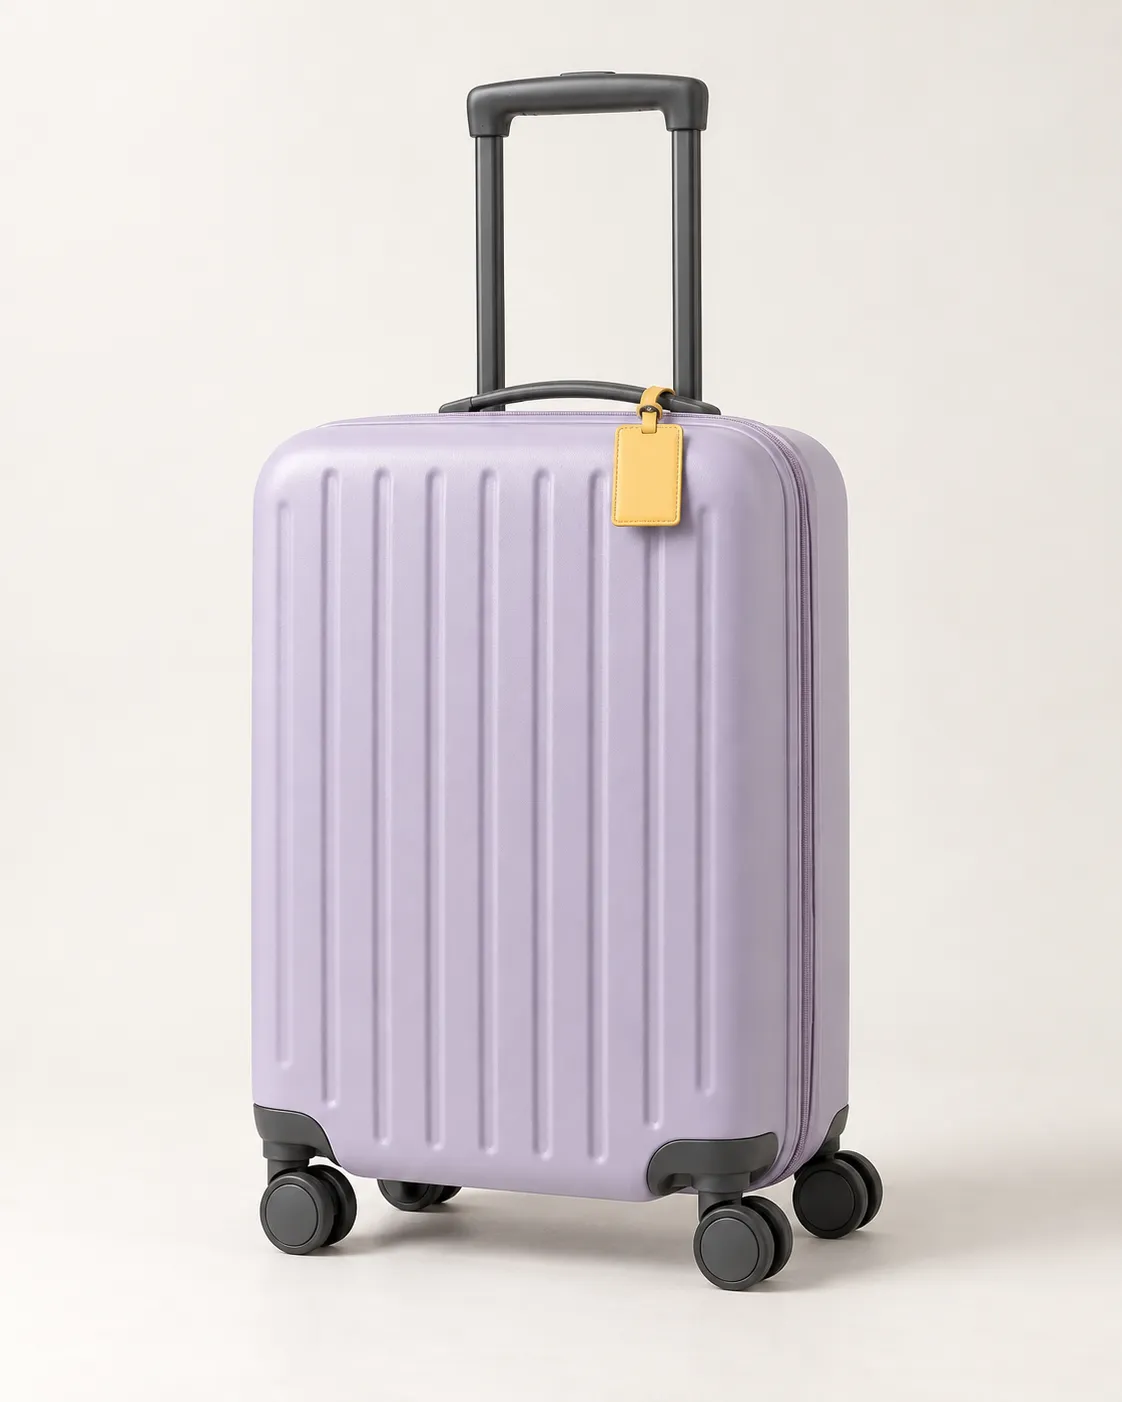
Caption: First confirm the product’s appearance against a clean background, then incorporate the same set of identifying features into the scene image.
Structures not shown in the reference image should not be treated as confirmed product details. If the actual product requires close-up shots of the back, clasps, or sides, corresponding photos from those angles should be added.
6 Original Prompt Templates
The following are general templates written for this article. For templates involving uploaded images, prepare the relevant materials first and modify the references to “Figure 1” and “Figure 2” according to the actual upload order.
Template 1: Create a Product Reference Image for a Fictional Item
Suitable for stages where the product concept is still being explored and no physical reference exists. For products currently on sale, use real product photos as the basis for the exterior design.
制作一张原创虚构登机箱的写实产品棚拍图。箱体为雾紫色圆角硬壳,正面有平行竖向凹槽,侧缘有同色拉链。深石墨色双杆伸缩拉杆完全展开,顶部另有短提手,短提手靠画面右侧挂一枚无字的黄色长方形行李牌。底部是深石墨色万向轮组,按正常透视展示可见部分,不强行露出被遮挡的轮子。

箱子直立,正面偏三分之四视角,能看到少量右侧面。完整保留拉杆顶部和可见轮组,四周留出余量。暖白无缝背景,左上方大面积柔光,轮子下方有自然接地阴影,哑光外壳保留细微纹理。只出现一只箱子,不添加人物、文字、Logo、贴纸或其他挂件。目标为4:5竖幅构图。
During inspection, first examine the structure: check whether the pull handle is attached to the case body, whether the short handle and telescoping pull handle are mixed together, and whether the wheel assembly is properly connected. Do not expand into a full set of images until the structure has been confirmed.
Template 2: Place the Same Product in a Travel Scene
Prepare an already confirmed product reference image; in this round, change the environment while maintaining the product’s identity.
以图1作为商品外形的唯一依据,为同一只雾紫色登机箱制作写实旅途场景照片。箱子直立在明亮简洁的现代车站候车厅,位于画面略偏右的位置。背景是高大玻璃窗与虚化的金黄色秋树,地面为浅暖灰色水磨石。

保留图1的箱体比例、雾紫色、正面竖向凹槽、侧缘拉链、深石墨色双杆拉杆、短提手、轮组和黄色行李牌。沿用图1的商品朝向,完整露出拉杆与轮组。左上方柔和日光同时照亮箱子和环境,轮子与地面自然接触,地面反光不能把箱体染成黄色。不要添加其他行李、人物、站牌文字或Logo。目标为3:2横幅构图。
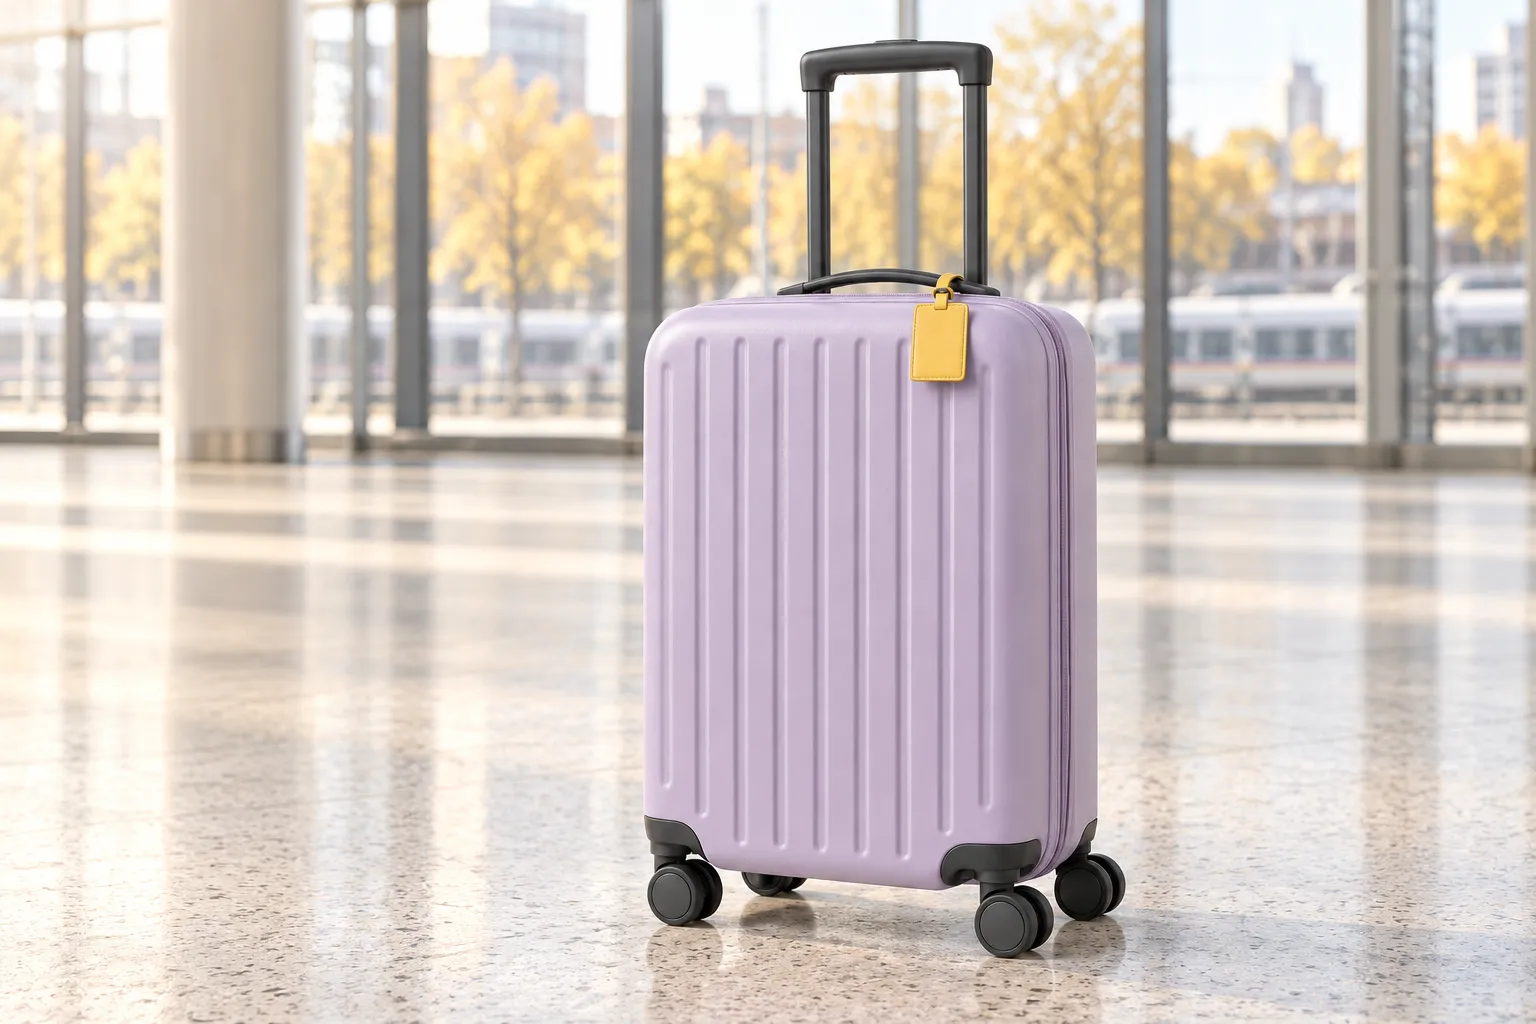
Caption: The scene image retains the case body, pull handle, and yellow luggage tag from the product reference, with shadows beneath the wheel assembly helping to clarify the grounding relationship.
In this round, ambient lighting may affect the product’s surface, but ensure that the base color remains consistent. If the case body has turned pink or off-white, correct the color first before proceeding with additional changes.
Template 3: Assign Separate Tasks to Product Images and Scene Images
Suitable when you already have product photos and clear environmental references. Prepare two corresponding images first; if the current input interface does not support multiple images, start with the product reference and describe the environment in text.
图1只决定登机箱的商品身份:雾紫色箱体、竖向凹槽、深石墨色拉杆与轮组、黄色行李牌。图2只参考候车厅的空间关系、窗户位置与日光方向,不采用图2中的人物、行李、招牌或文字,也不从图2提取商品外形。

把图1的登机箱放入参考图2建立的环境,保持图1的商品朝向与结构。匹配环境的地面透视、光照方向和接地阴影,完整保留拉杆和可见轮组。画面中只保留一只登机箱,不把两张图拼成左右面板,不复制背景中的其他商品。
Before uploading, determine whether there are any conflicts between the reference images. If the environmental reference is a strong overhead view while the product reference only shows a frontal, level perspective, it is recommended to take additional photos of the product from other angles or switch to an environmental reference with a closer viewpoint.
Template 4: Provide Accurate Text and Layout for Posters
Finalize the copy first, then create the visual design. Here, we continue using the same suitcase to produce a poster for the fictional “Weekend Getaway” theme.
以产品参考图中的雾紫色登机箱制作一张简洁旅行主题海报。保持商品的箱体、双杆拉杆、短提手、轮组和黄色行李牌。商品直立在画面下半部偏右,完整露出顶部与轮子。暖白背景,局部浅紫色墙面,左上方柔和日光。

画面左上方标题只写“周末出发”,使用清晰的深石墨色粗体;标题下方一行小字只写“带上喜欢的颜色”。两行文字都不能压住商品,不要添加其他文字、英文、价格、Logo或印章。目标为4:5竖幅构图。
Quotation marks are used to clearly delineate textual content, and each word must be carefully checked upon output. If typos, omissions, or unstable formatting occur, consider generating a wordless base image with the same composition and adding the finalized text in a layout tool.
Template 5: Change Only the Luggage Tag to Coral Pink
Using the station scene image above as the editing input, the goal is to change the color of just one component.
只把登机箱上黄色长方形行李牌及其同色细挂带改为柔和珊瑚粉。保持行李牌的形状、尺寸、缝线、无字表面和悬挂位置不变。

其余全部保持输入图状态:雾紫色箱体、沟槽、拉链、拉杆、短提手、轮组、商品朝向与大小、车站窗户、秋树、地面、光线、反射、阴影、景深和画面裁切。不添加文字或新物体,输出单张照片,不制作前后对比拼图。
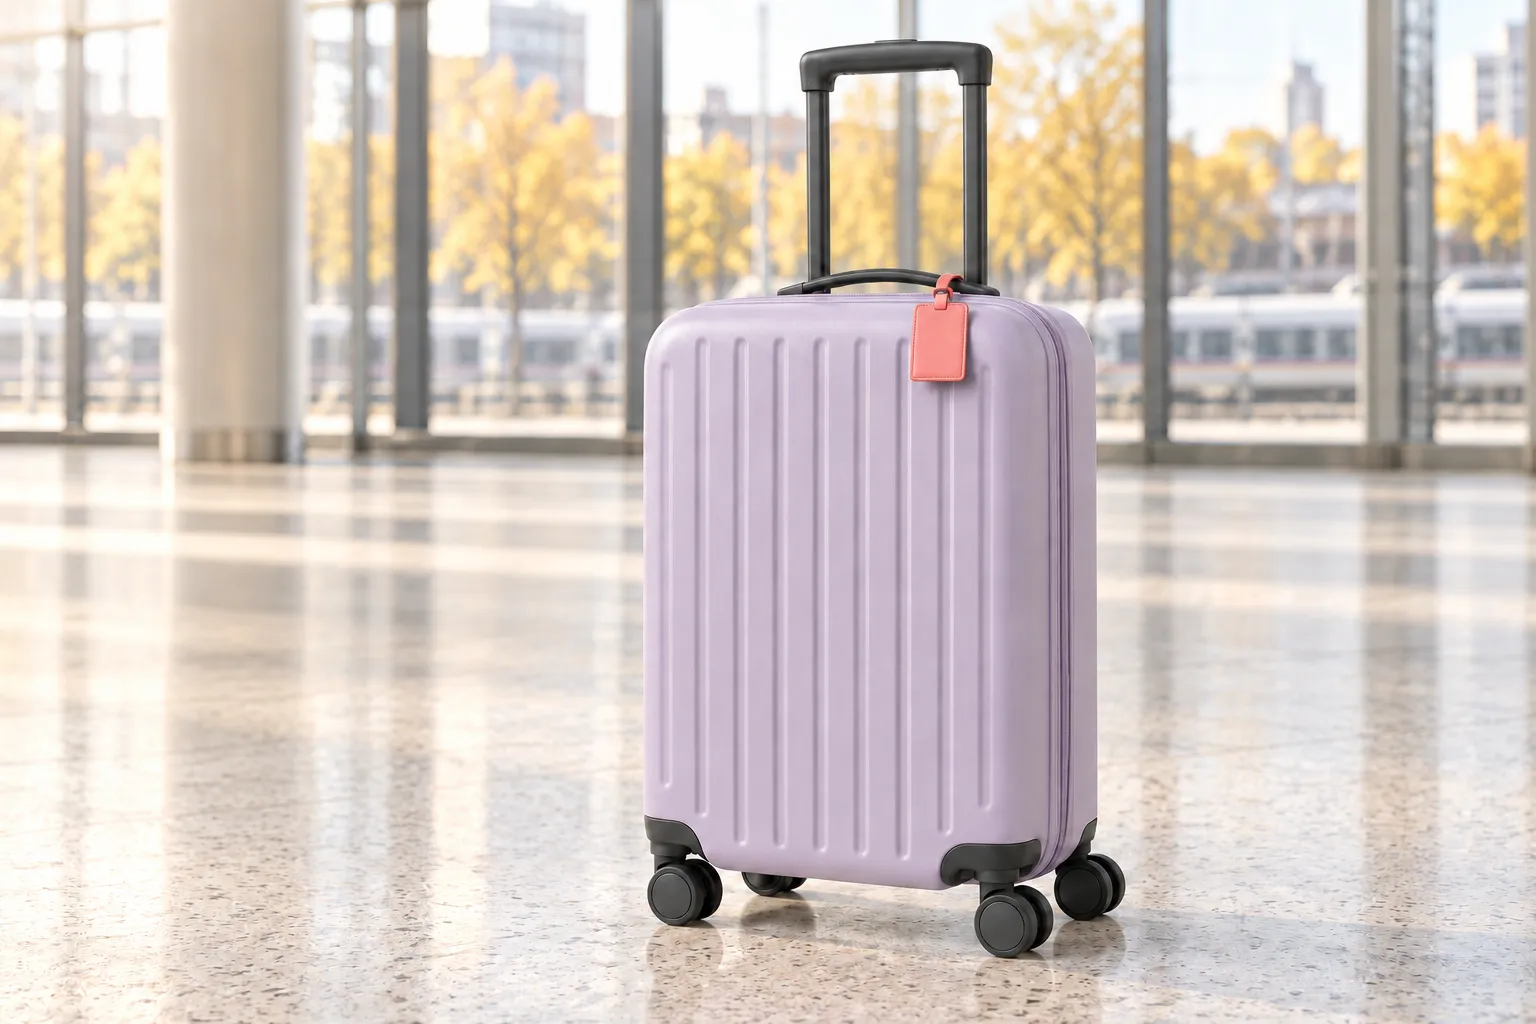
Caption: Compare the color change of the luggage tag against the previous station image, while also verifying whether the case body, wheels, or background have undergone any additional changes.
“Changing only one component” is the objective for this round. During acceptance, still compare the entire image, paying particular attention to the adjacent short handle, zipper, and shell color—do not focus solely on whether the luggage tag has turned pink.
Template 6: Correct the Grounding Shadow Beneath the Wheels
Use this method only when issues such as a floating effect or broken shadows appear; do not add extra shadows to images that are already normal.
只修正这张图中登机箱可见轮组与地面的接触阴影。保留原有轮组几何与位置,在实际接触位置加入克制、柔和的阴影,并匹配画面左上方现有日光方向。不要用一整块黑色椭圆代替各处接触关系。

保持箱体外形、雾紫色、凹槽、拉杆、短提手、行李牌当前颜色、地面纹理、背景、构图与裁切不变。不要增加轮子,不要让轮子陷入地面,不要改变箱子的高度或倾斜角度。
If errors stem from missing wheels, broken wheel axles, or透视 of the case body, adding shadows will not resolve structural problems. Return to a version with correct structure, regenerate the scene, or separately adjust the wheel assembly.
Complete Images in PixPix by Iteration
PixPix’s public workflowbegins with text or a reference image, specifying what to modify and what to keep, then proceeds to further editing or downloading after obtaining results. Based on this process, the present case can be divided into the following rounds, with specific models and settings determined by the current workbench.
Preparing Input: For fictional products, establish a product reference first; for real products, use clear, actual photographs and supplement necessary viewing angles.
Confirm the model: Check the actual model name and whether reference images are supported. If you want to use version 2.1, first confirm that this model is indeed listed.
Complete the scene first: Use template 2 to verify the product structure, color scheme, and grounding relationships, then save the results for further use.
Perform individual edits next: Take the scene that has passed inspection as input for this round, and use template 5 to modify the luggage tag. If additional changes are needed, start a new round.
Finish layout and export: Verify that cutting leaves the handle and wheels intact, adjust text and whitespace according to the final placement format, then save the finished product.
Including the target aspect ratio in your prompt can help describe the composition; if the workstation has corresponding output controls, also double-check the actual settings. However, this does not guarantee that the image will necessarily be exported at the specified ratio or size.
It is recommended to keep separate local copies of the product reference, initial scene draft, and individual revision versions. Proceed to the next round using the most recently approved image; if you notice the main subject has shifted, revert to an earlier, correct version.
How to rewrite common issues
Problems observed | Prioritize rewriting in the next round |
|---|---|
The environment looks nicer, but the suitcase’s design has changed | Clarify that Figure 1 only represents the product identity, listing the box body, handle, wheels, and luggage tag as items to retain |
The top of the handle or the wheels have been cropped out | Require the complete product with surrounding margins, and verify the actual output ratio |
When modifying the luggage tag, the entire suitcase changes color | Limit the modification area to the luggage tag and thin hanging strap, clearly specifying that the box remains misty purple |
The product appears stuck onto the background | Match ground perspective, sunlight direction, and shadow beneath the wheels |
Extra text appears on the poster | Provide accurate text line by line, limit the total number of lines, and reserve a blank‑background layout option |
Do not try to incorporate all corrections at once. First identify the primary issue hindering the image’s usability, then decide what to revise in this round.
Common questions
Must the prompt be extremely long?
No. When creating a new scene, it’s best to provide a complete visual overview; for localized modifications, short, clear instructions make verification easier. Repeating conflicting descriptions only complicates the review process.
Can these templates still be used without multiple reference images?
You can start with a single product reference image and supplement the scene with textual details. Template 3 requires two reference images with distinct roles; use it only when sufficient source material is available and entry points support it. Do not rely on a single front-facing image to prove that the backside structure has been accurately reproduced.
Will writing “keep unchanged” in the prompt ensure consistency?
You still need to double-check. The text describes the intended outcome, but the actual result may show slight variations. For product images, it’s especially important to verify the box’s outline, groove arrangement, handle connections, and wheel assembly—not just whether the main color is close.
Can the box dimensions shown on the poster be used as the actual product specifications?
This case does not provide real-world product specifications, so you cannot use them to determine capacity, weight, or airline carry-on restrictions. Actual product parameters should come from the official product data; images are only meant to showcase the confirmed appearance.
Start practicing with a single reference image.
Open PixPix Nano Banana, first confirm which models are currently available, then prepare a product image with clear outlines and details. In the first round, focus solely on completing the scene; once it passes inspection, proceed to try editing individual elements like luggage tags.
In each round, keep a clear goal in mind and note the specific details that must remain intact—this will make it easier to decide whether to continue refining or revert to the previous version.

AI Image Tool Built for E-commerce Teams
For new product launches, advertising, and promotional campaigns, use AI to generate product images, scene visuals, ad creatives, and short video assets — making content production faster.